Woah nelly, there are some people out there that will be happy about this. We’ve been receiving requests for a SWMS Module since forever and today we deliver!
Using this new builder for a single job you can manage your required Licenses, PPE, Required Qualifications, Code of Practices, Procedures, Plant and equipment, job steps and job requirements; THEN once it’s ready to go, have a manager physically sign off on it and output it as a ready to send JSEA/SWMS/JSA.
First, we’ll show you all the great stuff it can do and how it works, and after that, we’ll go through and show you how to turn it on and configure it.
If you want to jump to configuration first so you can play as you read, just click here.
Quick Links:
Creating a Job Management Record
Creating a Job Management Record.
To create a job management record, start by going to Manage > Job Management Register then click on the [+Add] button. (If you can’t see this option here, the instructions here will help.)
This will bring up the new Job Management screen. From here you can give your job a name, date, location, and assign a supervisor. You can also assign PPE, necessary Qualifications, Code of Practices, and Job requirements. An example of this can be seen below:
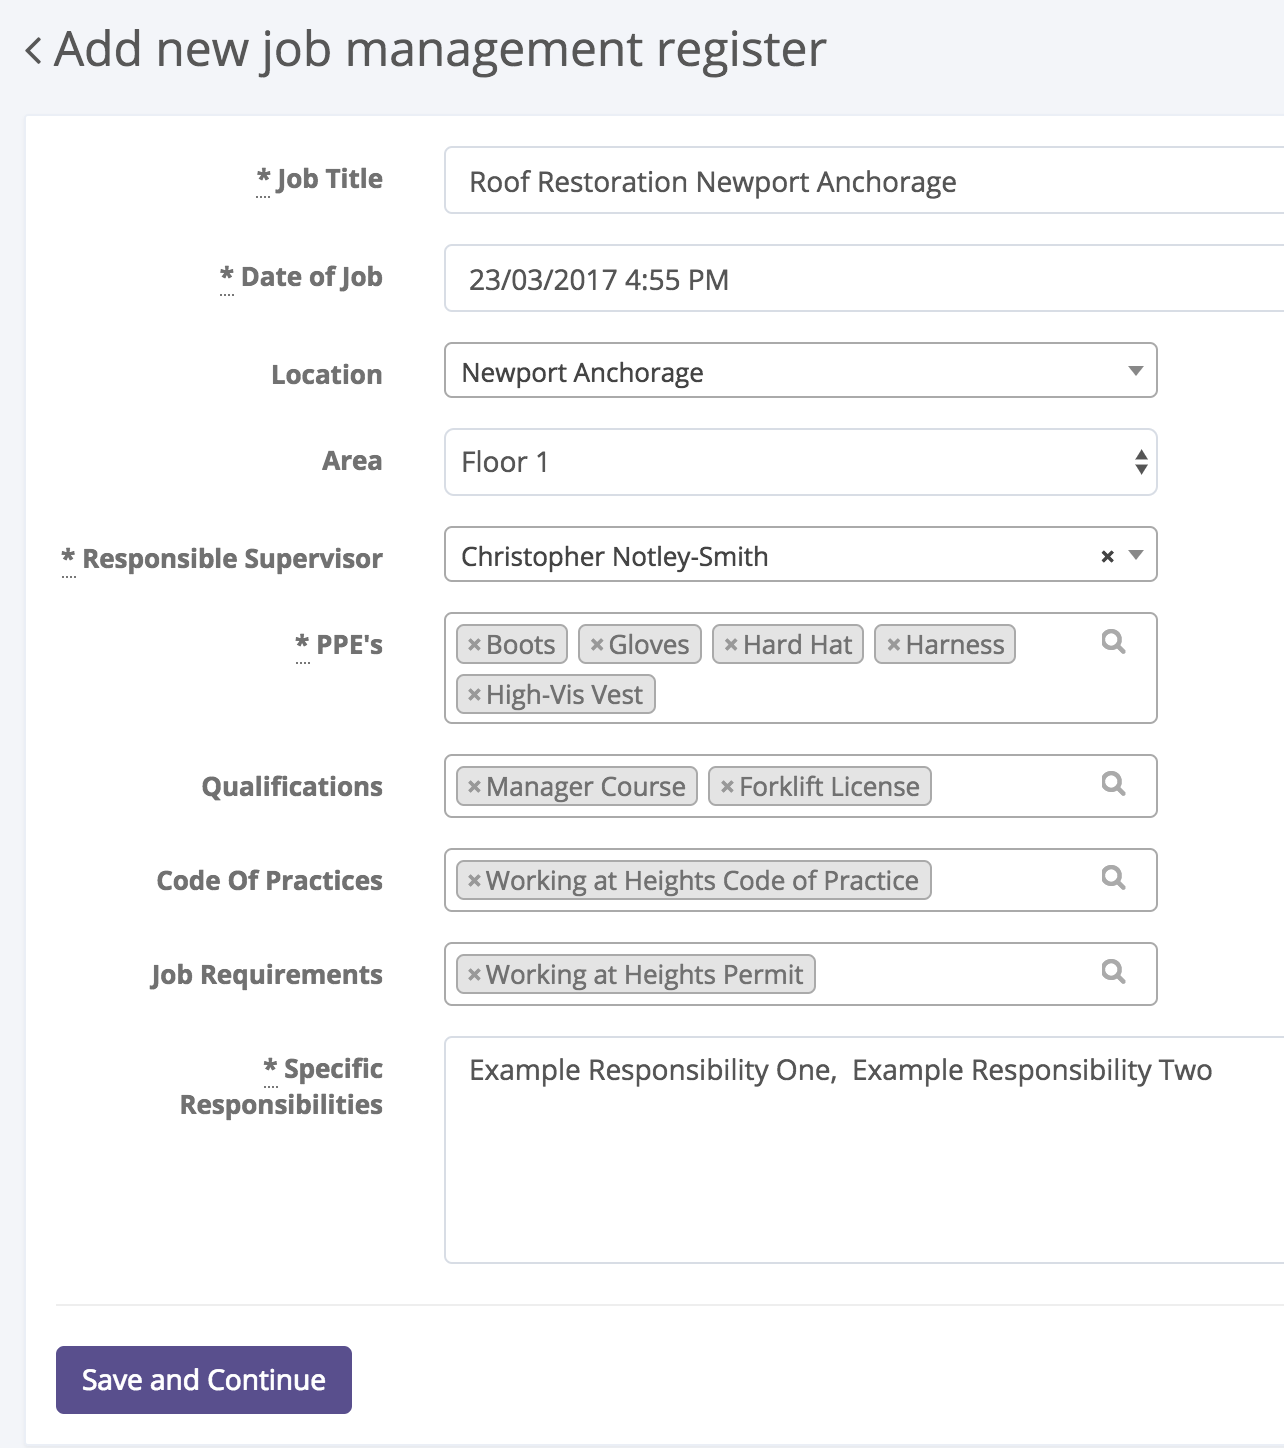
Again, having all of those options available will require some configuration, which you can read about here.
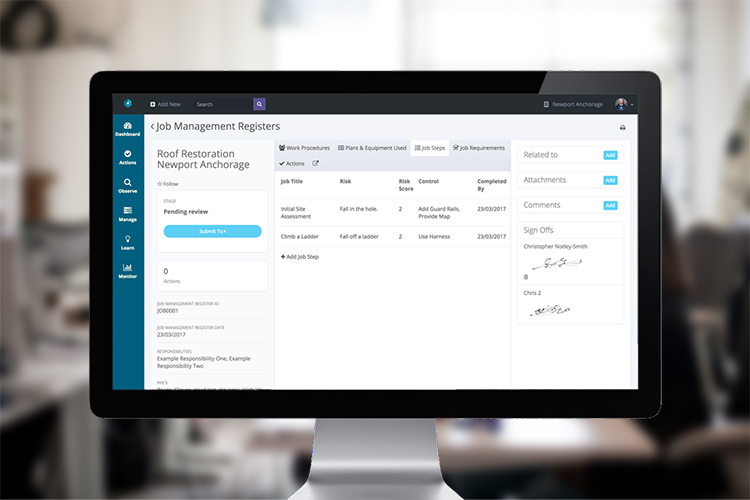
Once the job is organized, simply click [Save and Continue]. Here you’ll find yourself looking at your new job management record as shown below.
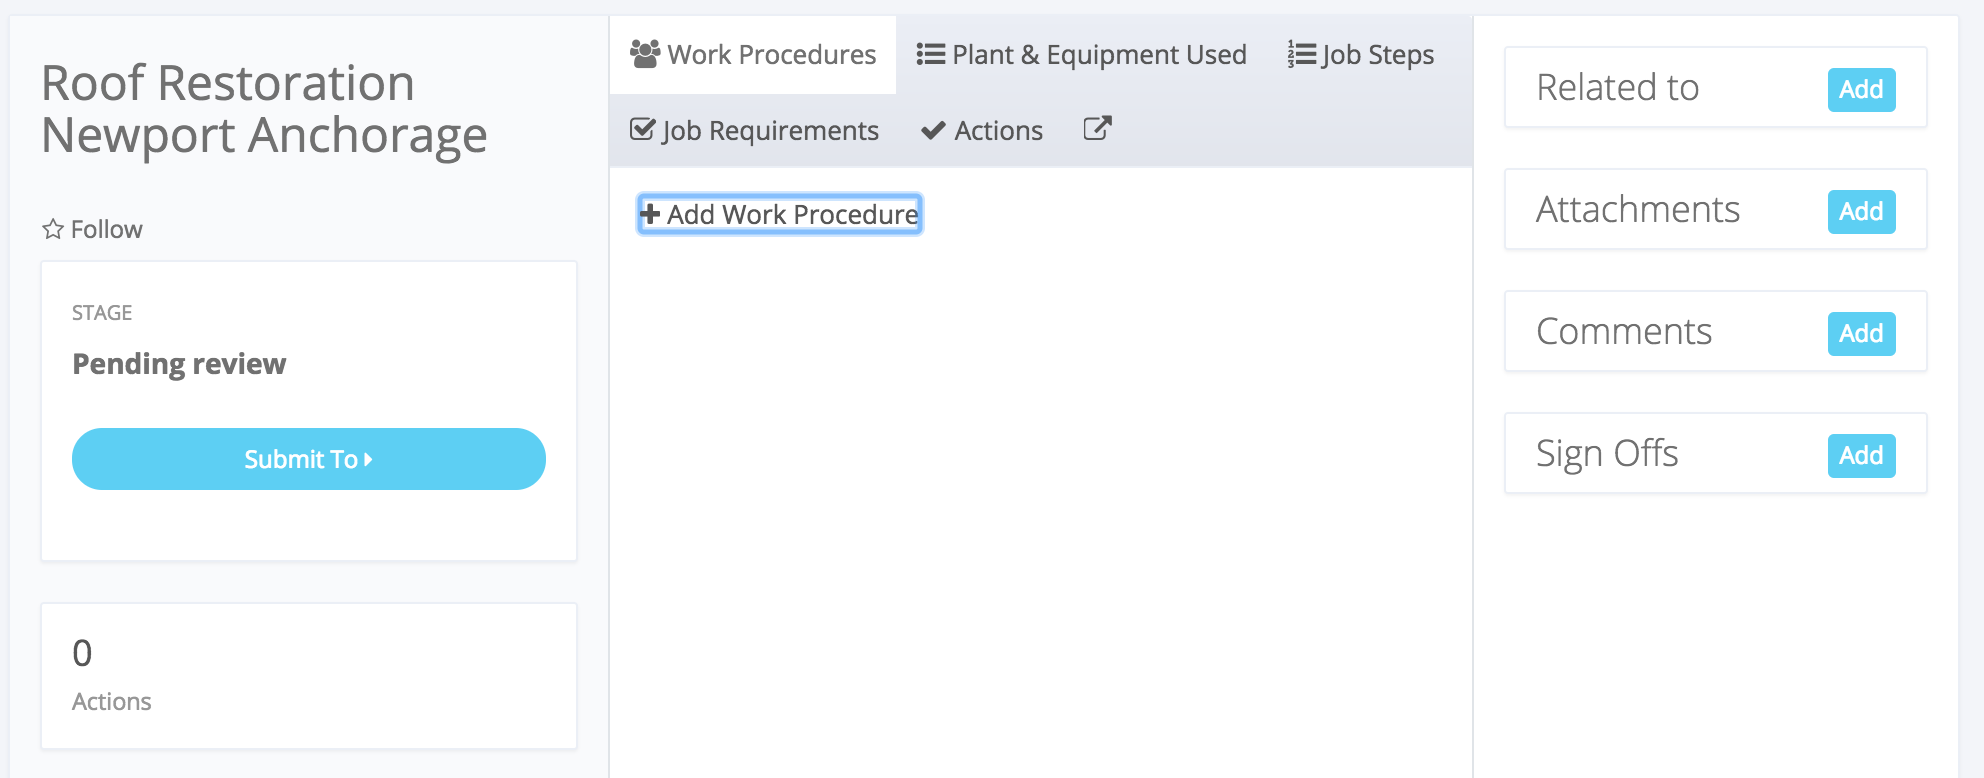
From here you effectively need to just fill in each of the tabs relevant to the job. We’ll quickly run through each one now.
Add New Work Procedure Tab
Work procedures can be added in a couple of clicks. Just click on the [+Add Work Procedure] button and either select an existing procedure from your knowledge base (they’ll need to be classed as procedures for you to do this), OR create a new procedure from scratch by clicking on the [+Create New Work Procedure] button which will take you to the add new article screen. If you need help writing an article, this video will help.
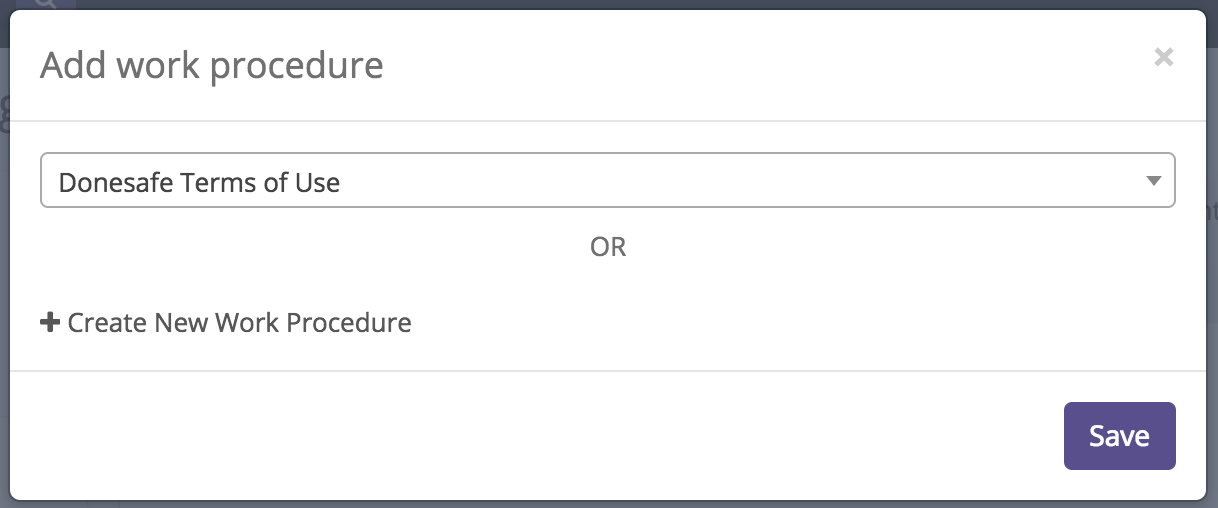
You can add as many or as few procedures as you need.
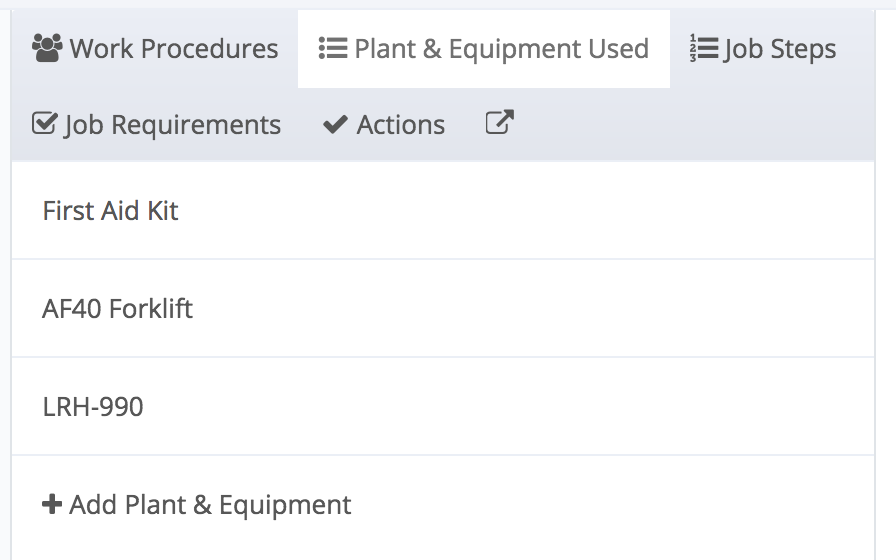
Plant & Equipment Used Tab
Adding plant and equipment works in much the same way as adding procedures. Go to the Plant and Equipment Used tab and click the [+Add Plant & Equipment] button. Here you’ll be presented with a list of Plant & Equipment already loaded into the system. You can also add a new item by clicking on the [+Create New Plant & Equipment] button. Once you’re done, click [Save] to add your item. You can repeat this process as many times as necessary to add new plant and equipment.
Job Steps Tab
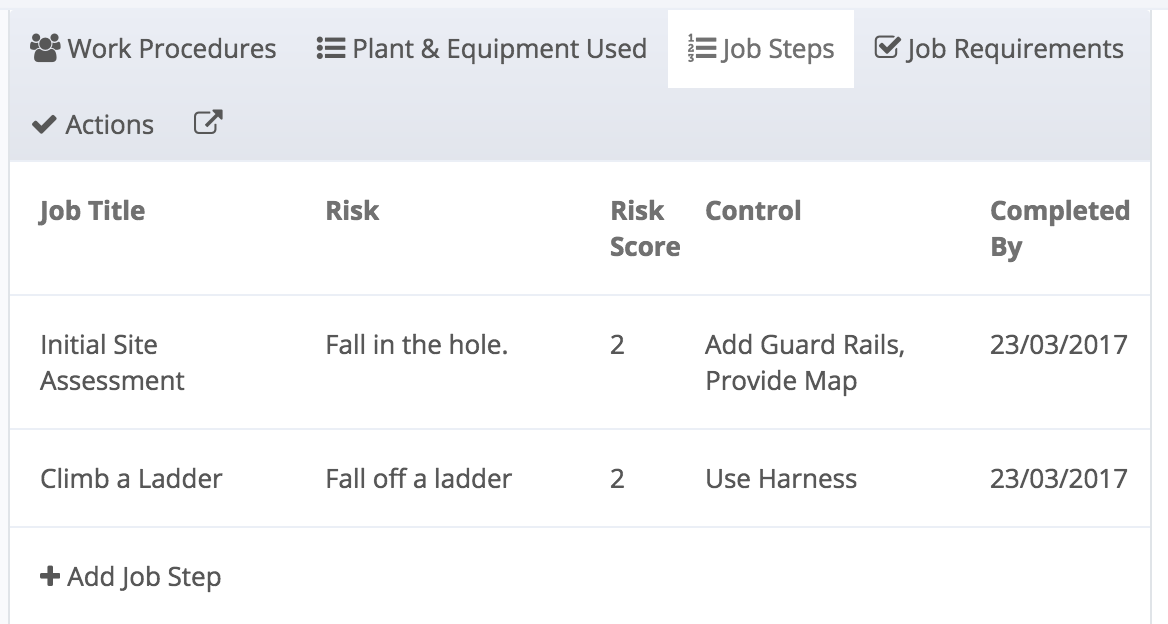
Using the Job Steps tab, you can create jobs to complete as well as assigning risks and controls to each one as needed. To do this, click on the “Job Steps” tab and click on the [+Add Job Step]. From here you can quickly add the step as well as any risks and controls that apply.
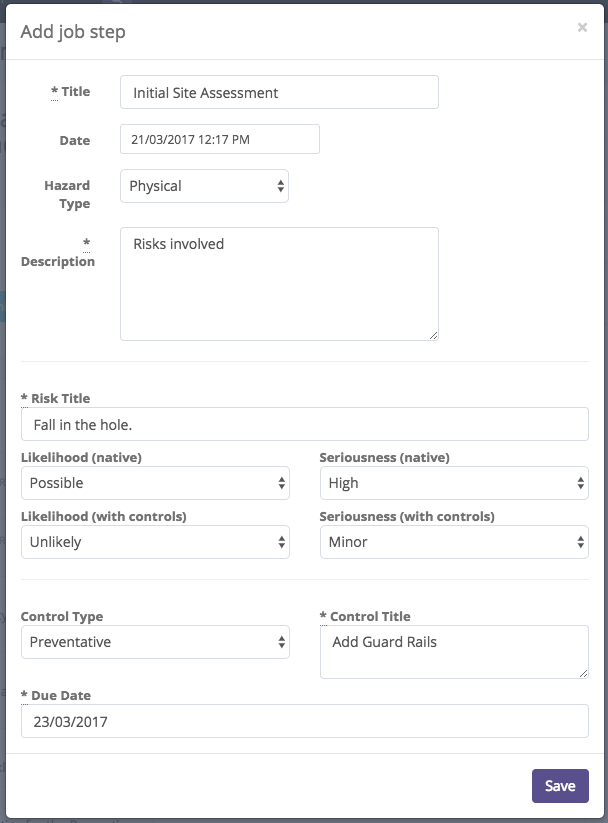
If the job step requires any additional risks or controls, you can click on the job title record then add in risks and controls like you would with any other hazard. If there are any additional Job Steps to add, simply click the [+Add Job Step]. You can see my bad examples below.
Any actions assigned out as part of this process are automatically assigned to the person listed as the “Responsible Supervisor”. This was set when creating the record. If these actions need to be reassigned, the Responsible Supervisor can do this or anybody with admin access.
Job Requirements Tab
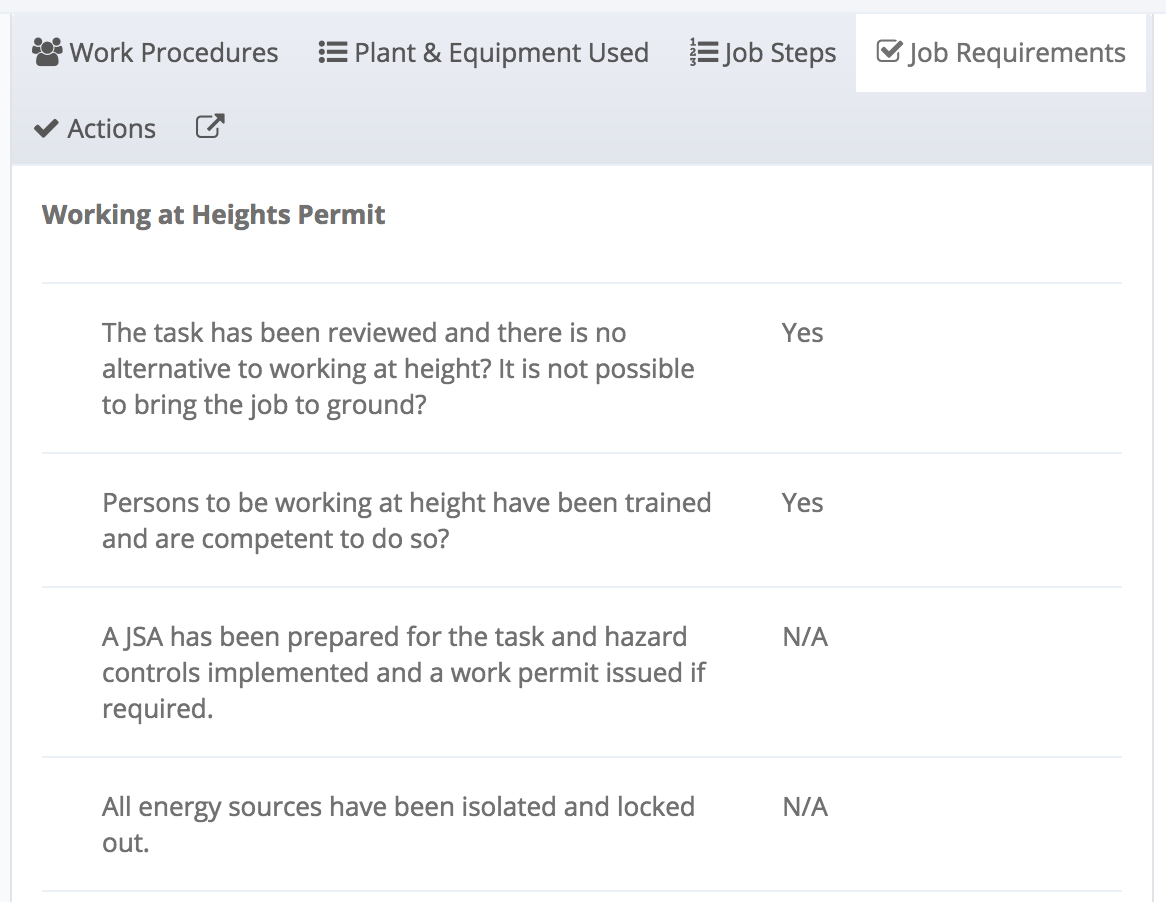
It’s here that you fill in the template you selected when you created the record. To this, click on the “Job Requirements” tab and click on [+Answer Questions]. Here you’ll be shown the questionnaire you selected. Fill in your answers and click save when you’re done! You can also click [Save as Draft] if you need to come back and finish this later.
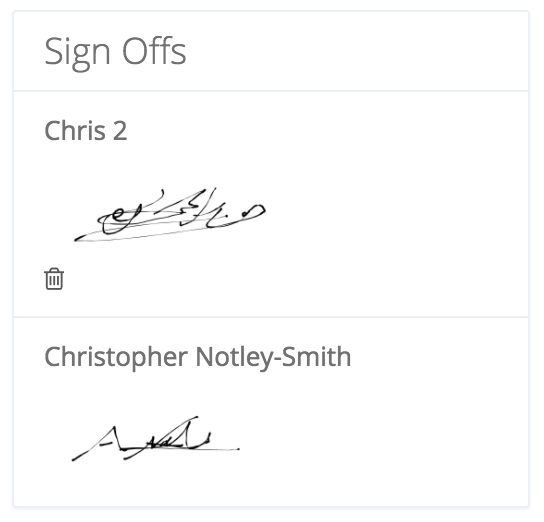
Signing off
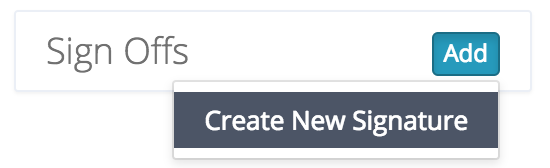
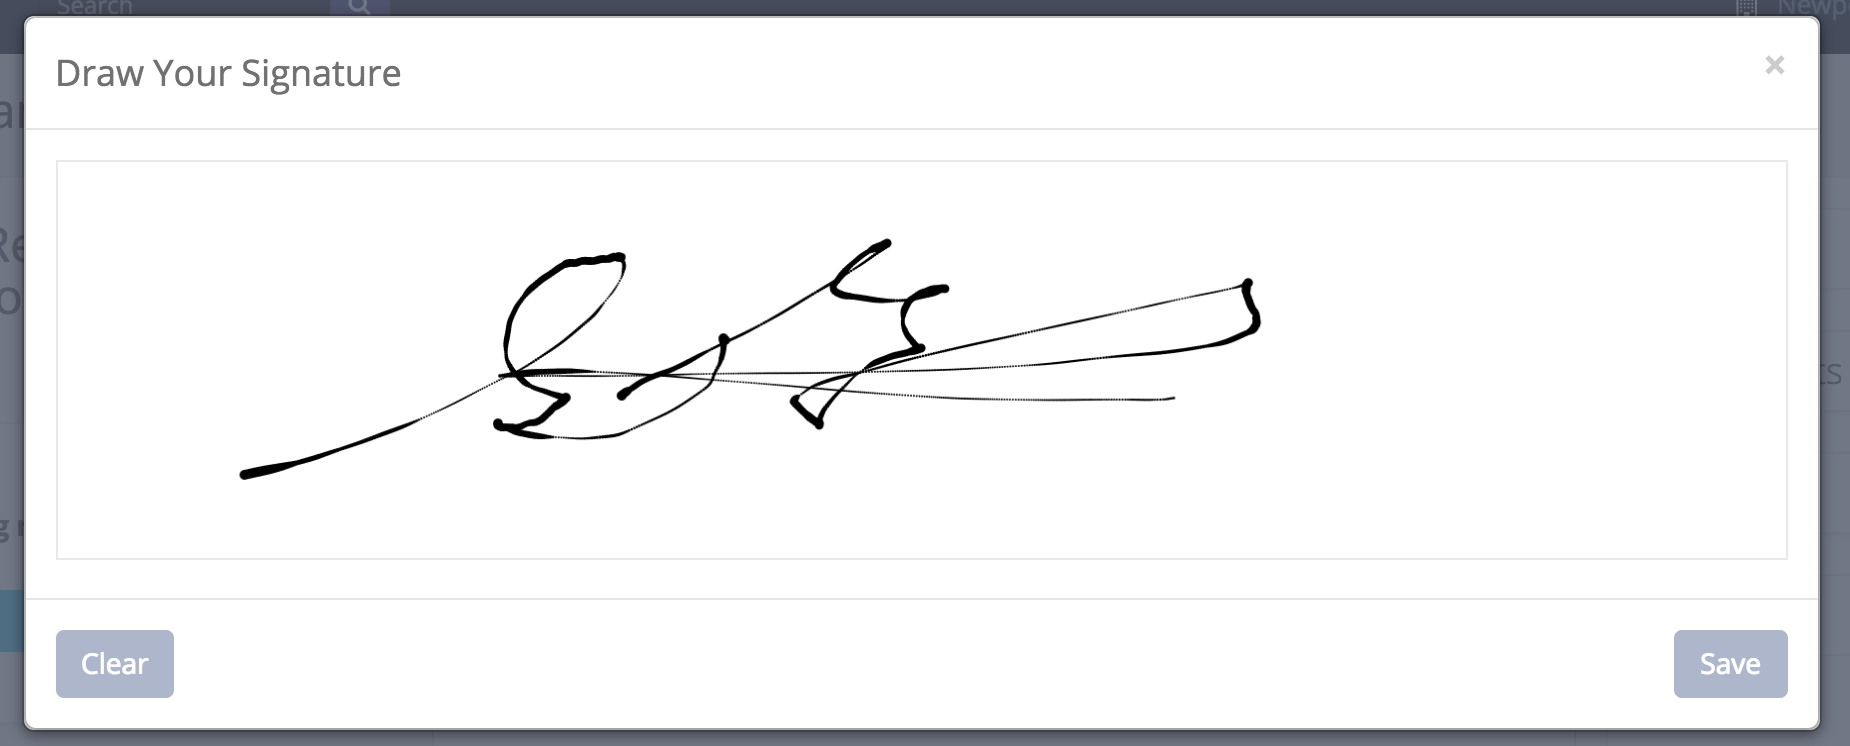
If you’ve enabled signing for this module, then for many, the last step of the process will be to sign off on the job sheet. To do that, simply click the [Add] button next to Sign offs, click ‘Create New Signature’ and sign away. If you need signatures from others in your organization, simply assign them an action to sign, and they can do so. There’s no limit to how many signatures can be added to a record, but know that you can only add a signature for yourself. In order to get a signature from others, they’d need to log in and provide it.
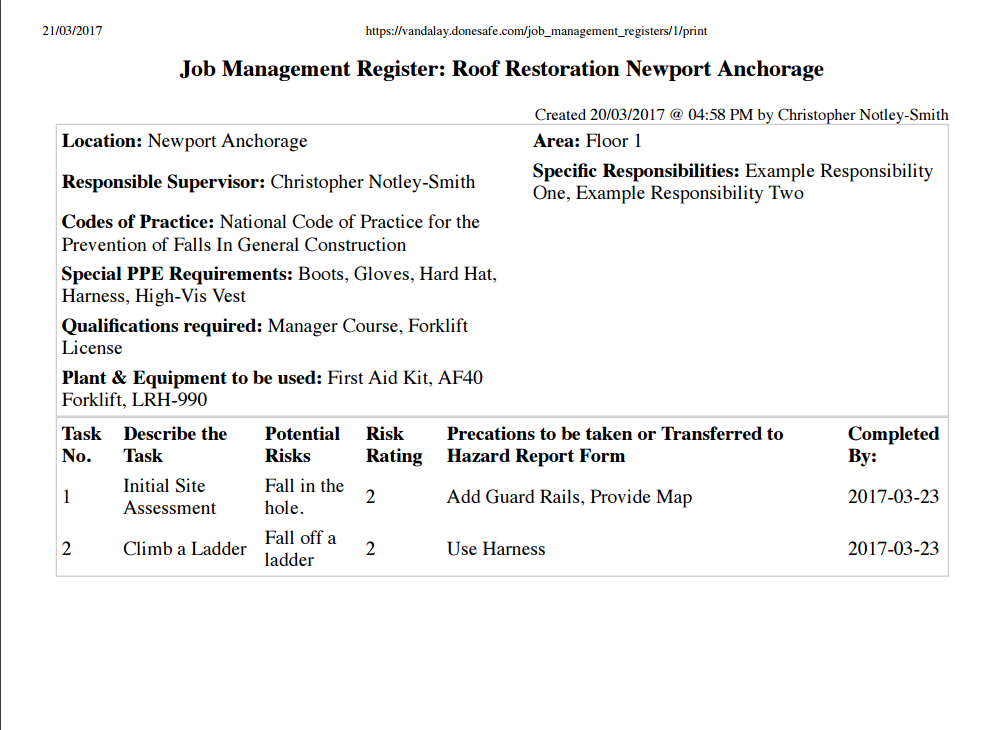
Exporting/Sharing your JSEA/JSA/SWMS
And you’re Done! You now have your JSEA. How you use it after this point is up to you. You can provide external users with limited access to the record if you’d prefer to work in-app. Alternatively, simply clicking on the print button on the top right-hand side of the screen will allow you to either print or export to PDF to send. Creating a JSEA/JSA/SWMS has never been easier!
Enabling and Configuring the Job Management Module.
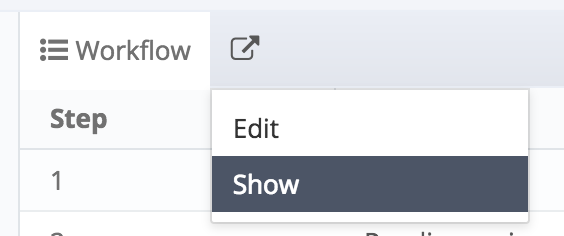
Step 1: Turning on the Module
To start using the module, first head over to Settings > Modules > Job Management Register. Once in, click on the edit icon and click show.
Before you jump away, next we’re going to enable manager signing. To do this, click on the edit icon again, then click on Edit. From there, switch ‘Users can Sign?’ from No to Yes.
Fun fact! This can be done on any module now. If you want to sign for anything from courses to incidents; you can enable it for those modules using the same process outlined above.
Step 2: Give yourself rights to work on the Jobs module.
If you’ve enabled rights before, then this is easy, otherwise, go to Settings > Roles > [your role]. Then scroll down to Job Management Register, and give yourself rights appropriate. To make it easy, I gave myself rights to everything (as below).

Step 3: Configure your Job Management Register settings
It’s really up to you how deep into this you go straight away, but it’s important to quickly discuss it here.
<center<
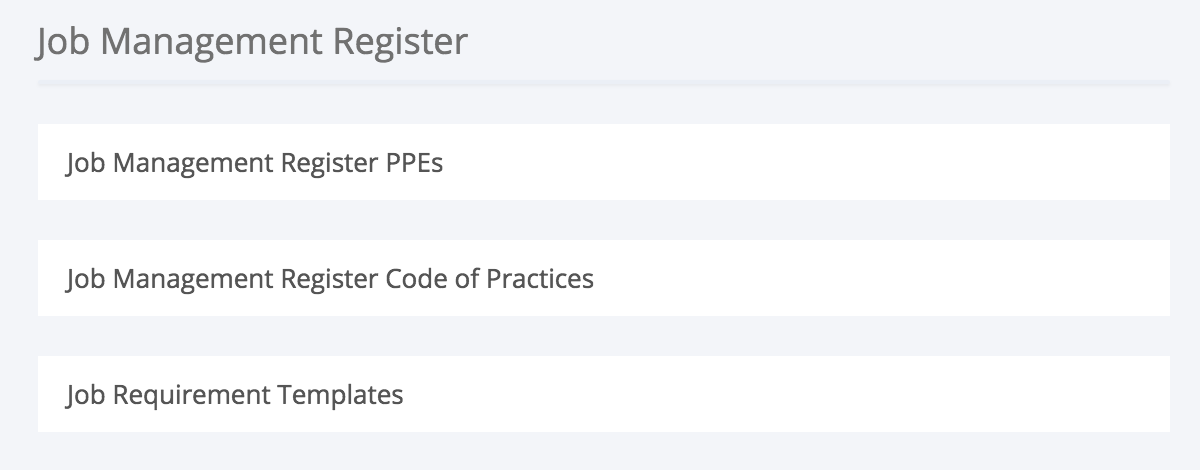
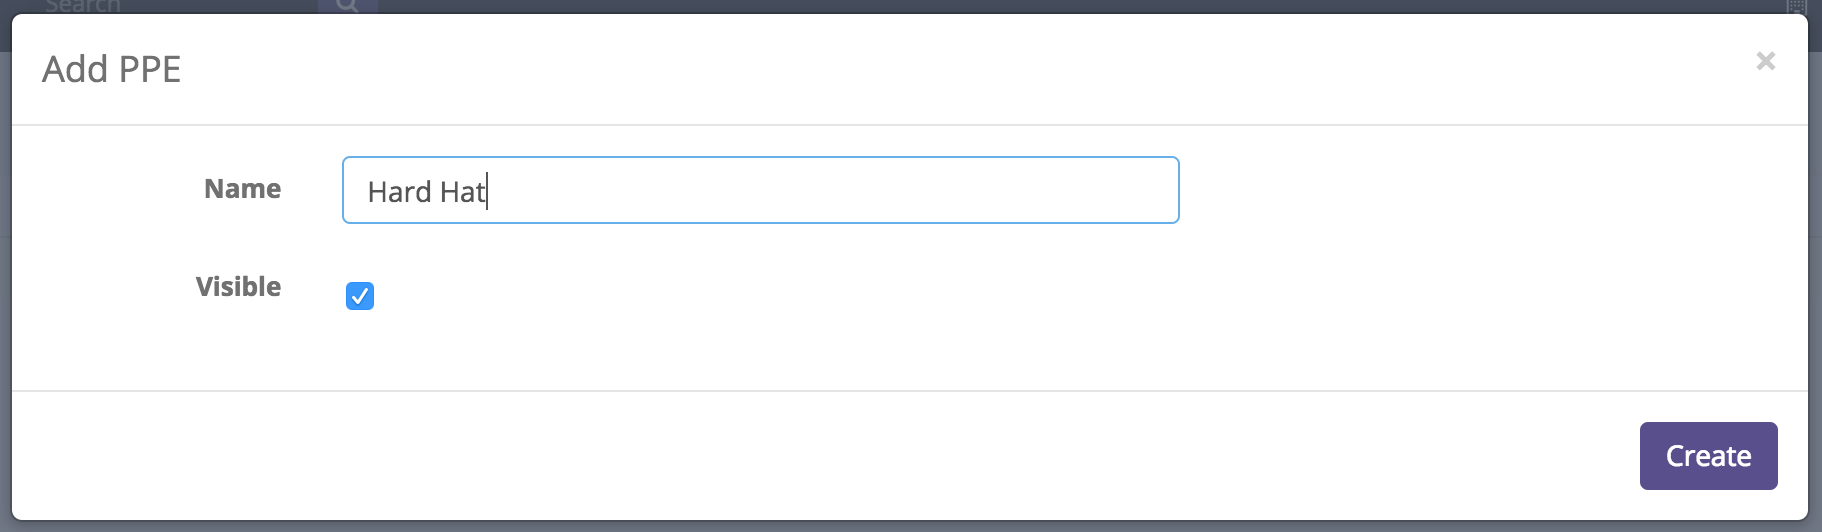
Adding Job Management PPE
Go to Settings > Job Management Register > Job Management PPEs. Once there, it’s pretty straight forward, click on the [+ Add] button. Give your PPE a name, and click Create. It will now be available in the Job Management module. Quick note: In the long run, PPE will have its own register which this list will likely draw from, so look out for that.
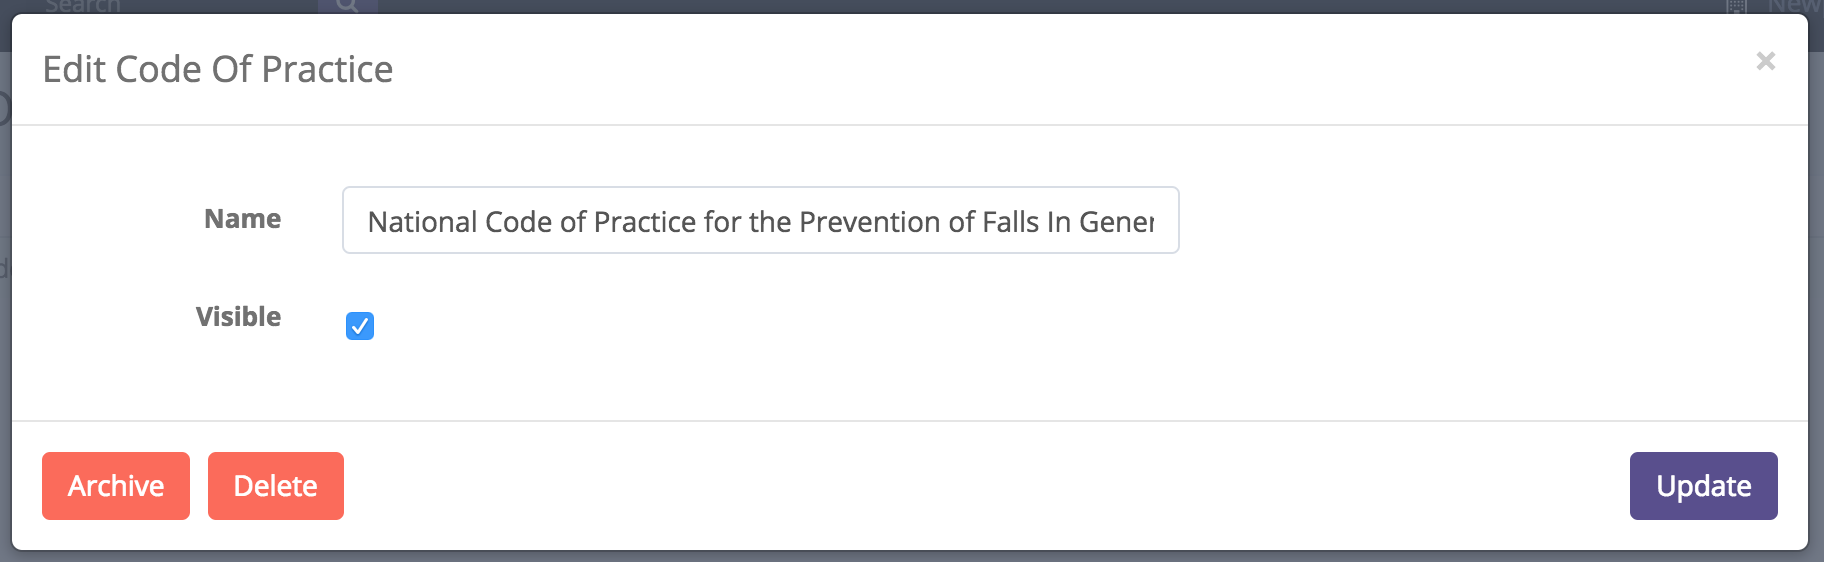
Adding Job Management Code of Practices
Go to Settings > Job Management Register > Job Management Code of Practices. Once there, again, it’s pretty straight forward, Click on [+ Add], provide the name of your Code of Practice, Eg, “National Code of Practice for the Prevention of Falls In General Construction”, and click Create. As a quick note, these codes of practice refer to legislative codes of practice rather than your own codes. Worldwide, there are millions of these codes, hence why they aren’t in by default. As an admin, you can go ahead and add the codes of practice relevant for your business.
Adding Job Management Templates
Finally, you’ll need to add some templates. To do this, go to Go to Settings > Job Management Register > Job Management Templates. If you’ve built templates in Donesafe before some of this process will feel very familiar to you, if not a little more streamlined.
Start by click [+ Add] to add your first template. Give your Template a name, and a description if required and click Save. From here you’ll find yourself on the template builder screen as shown below:
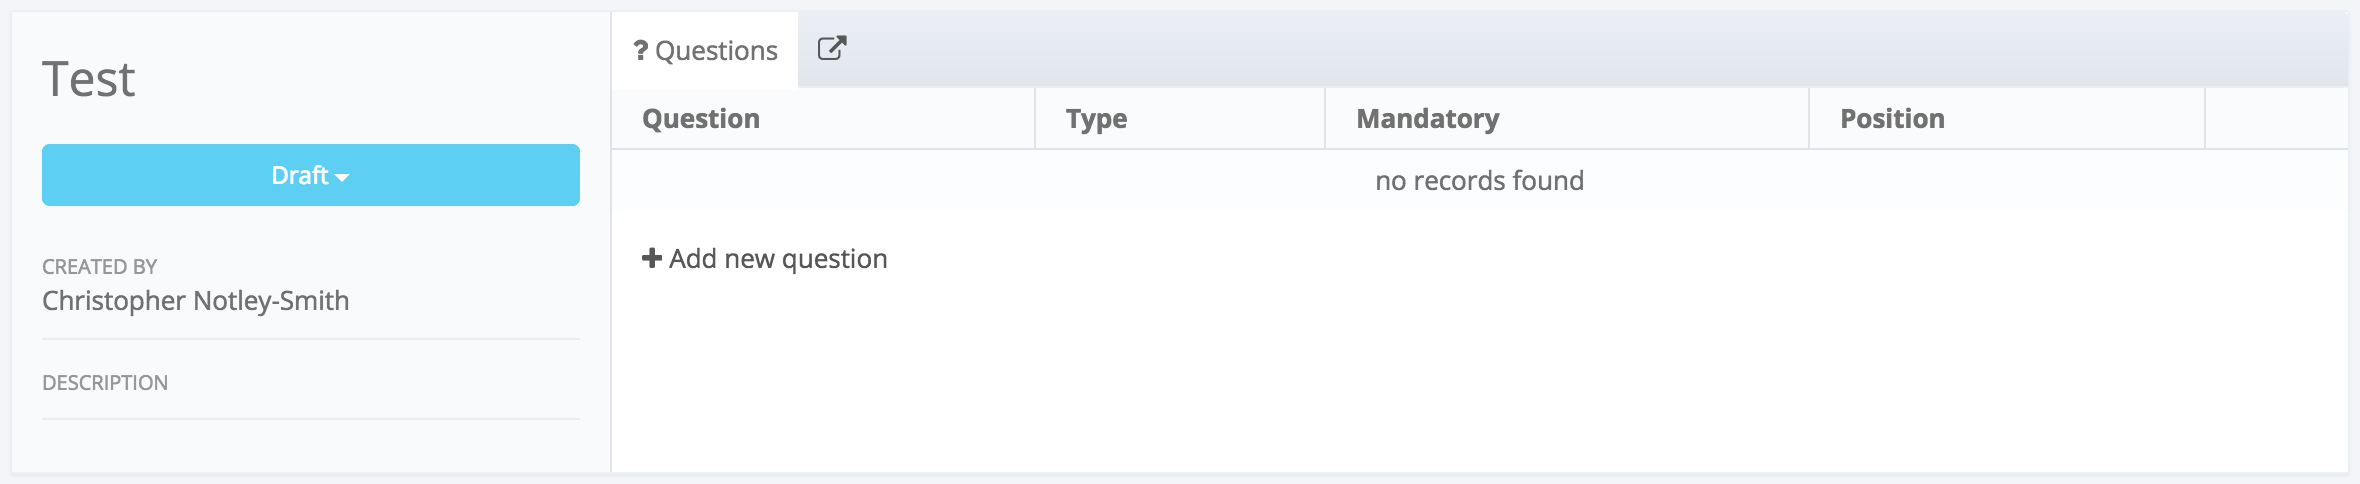
To add your first question click the [+Add New Question] button and you’ll be presented with the add new question layout. Unlike other template builders in Donesafe, these templates allow you to set your question and response type settings within the same form. The image below illustrates how you might fill in the form.
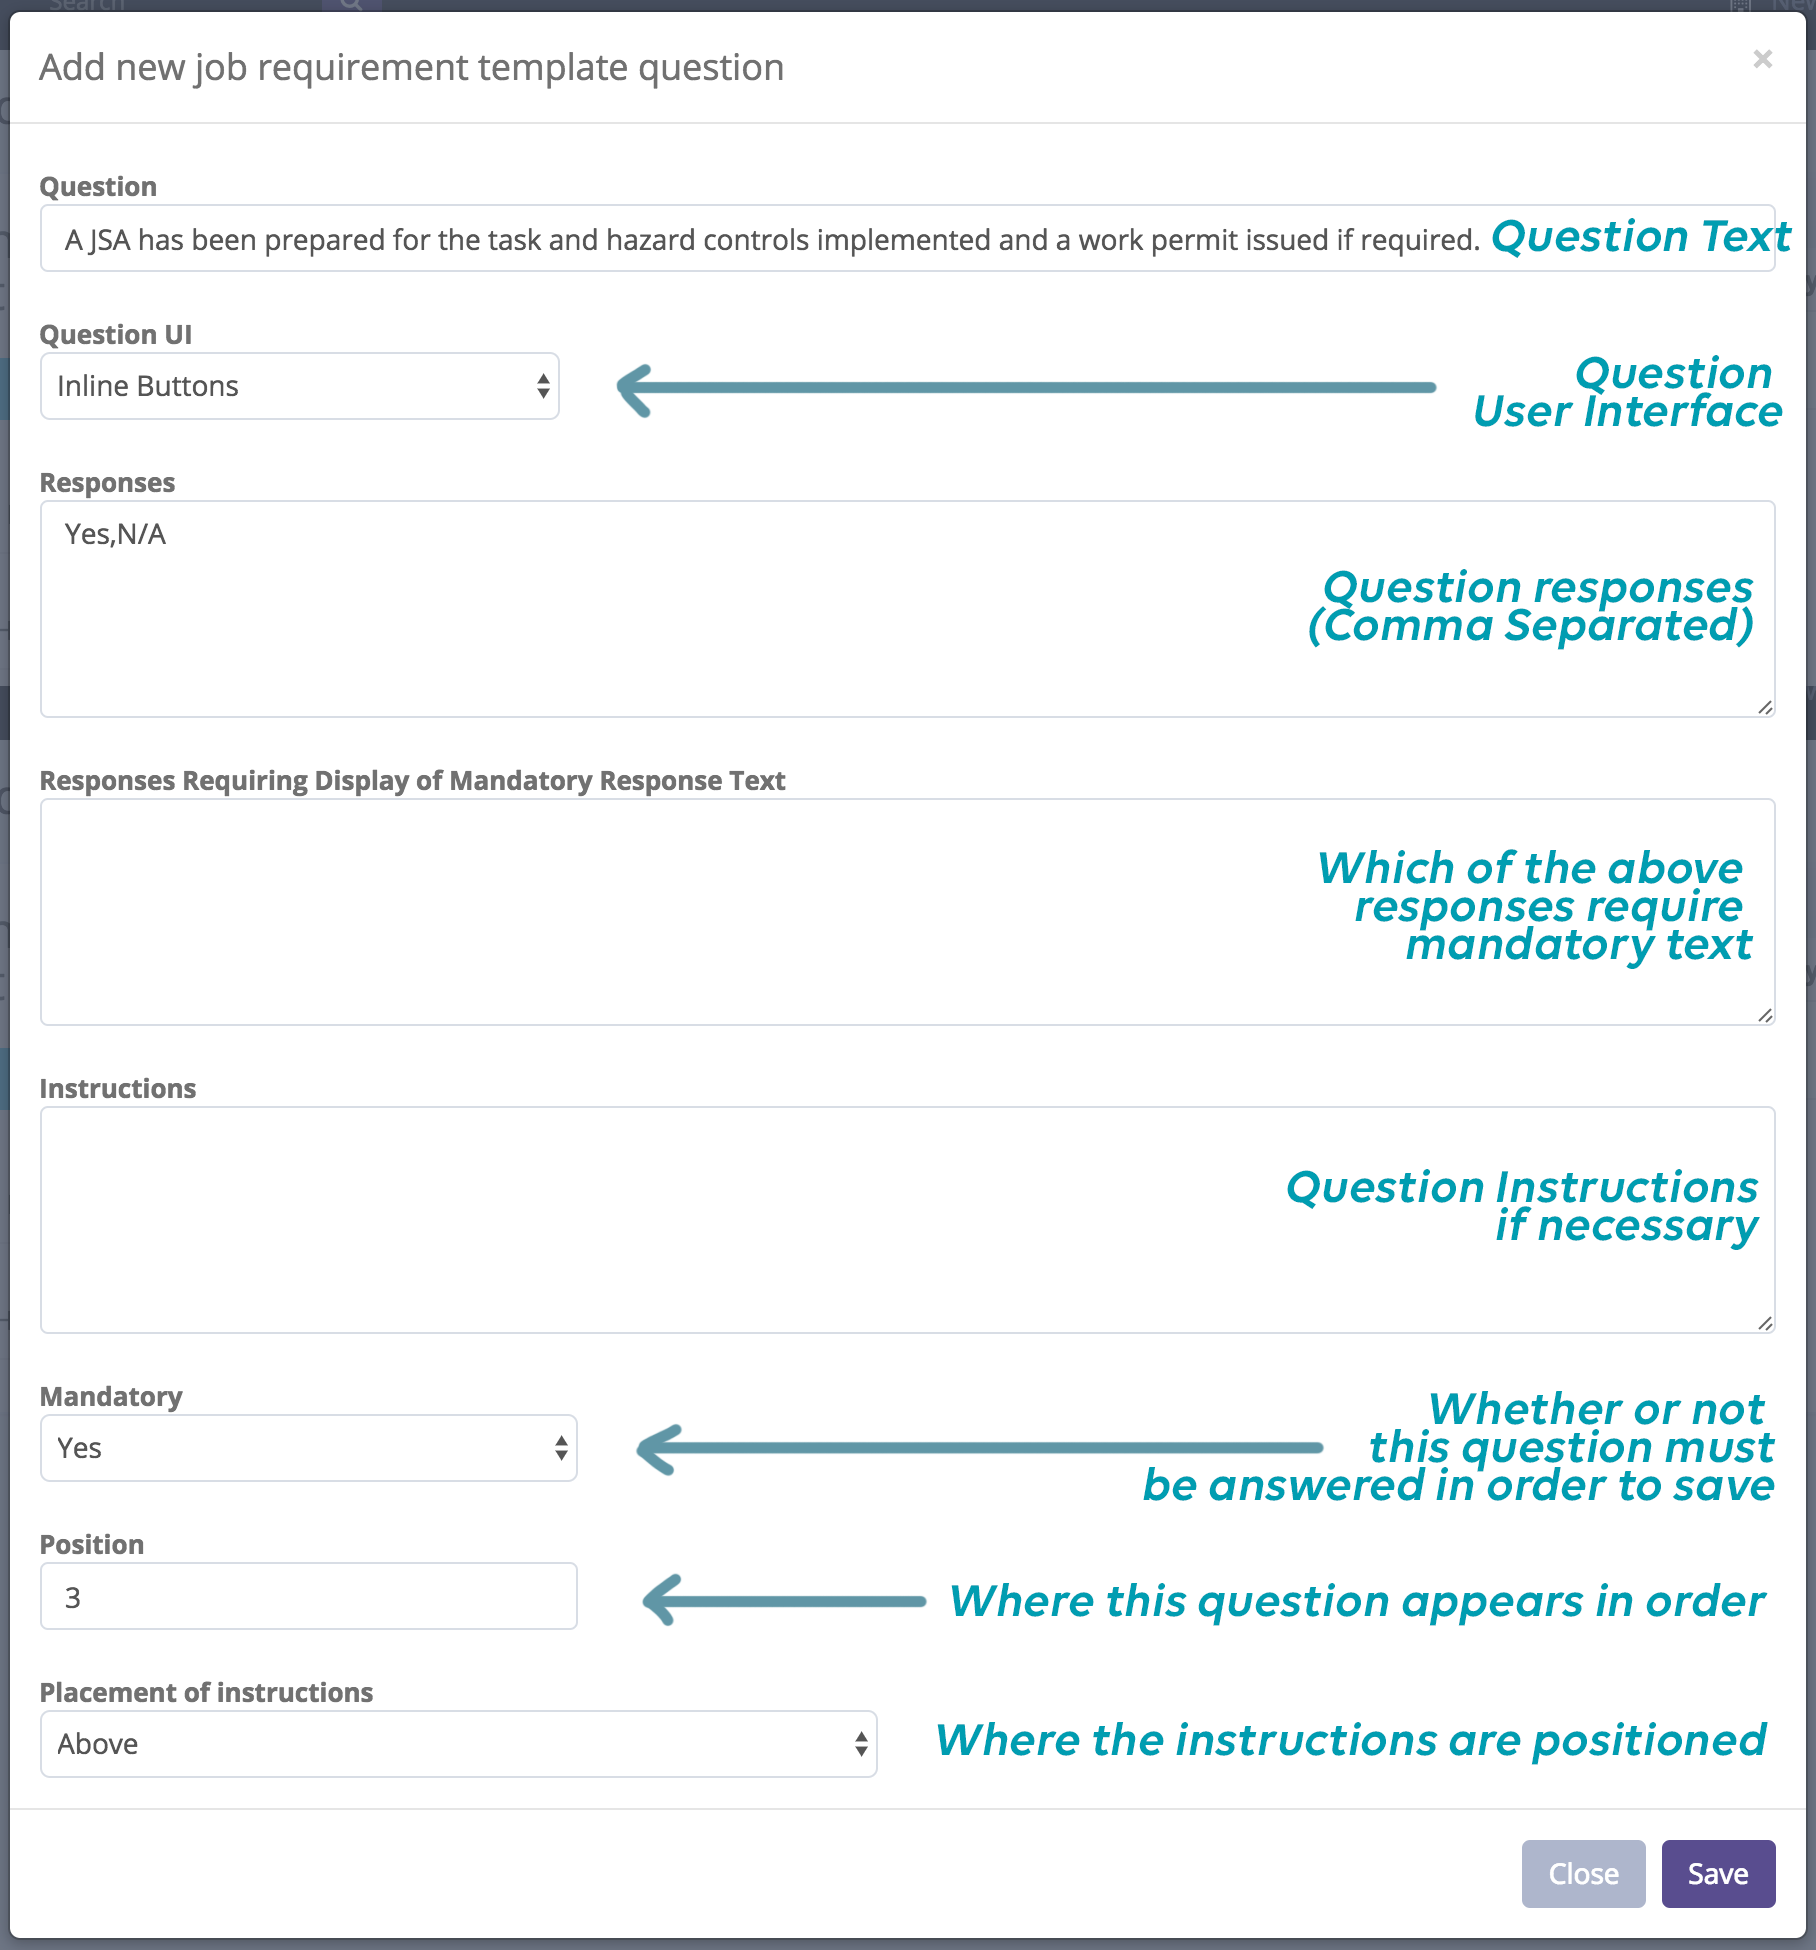
If you have trouble following that, then I’d recommend watching the video on how to set up Question UI Response types. It is from another area of the platform, but it may help to clarify some of what you see in the above form.
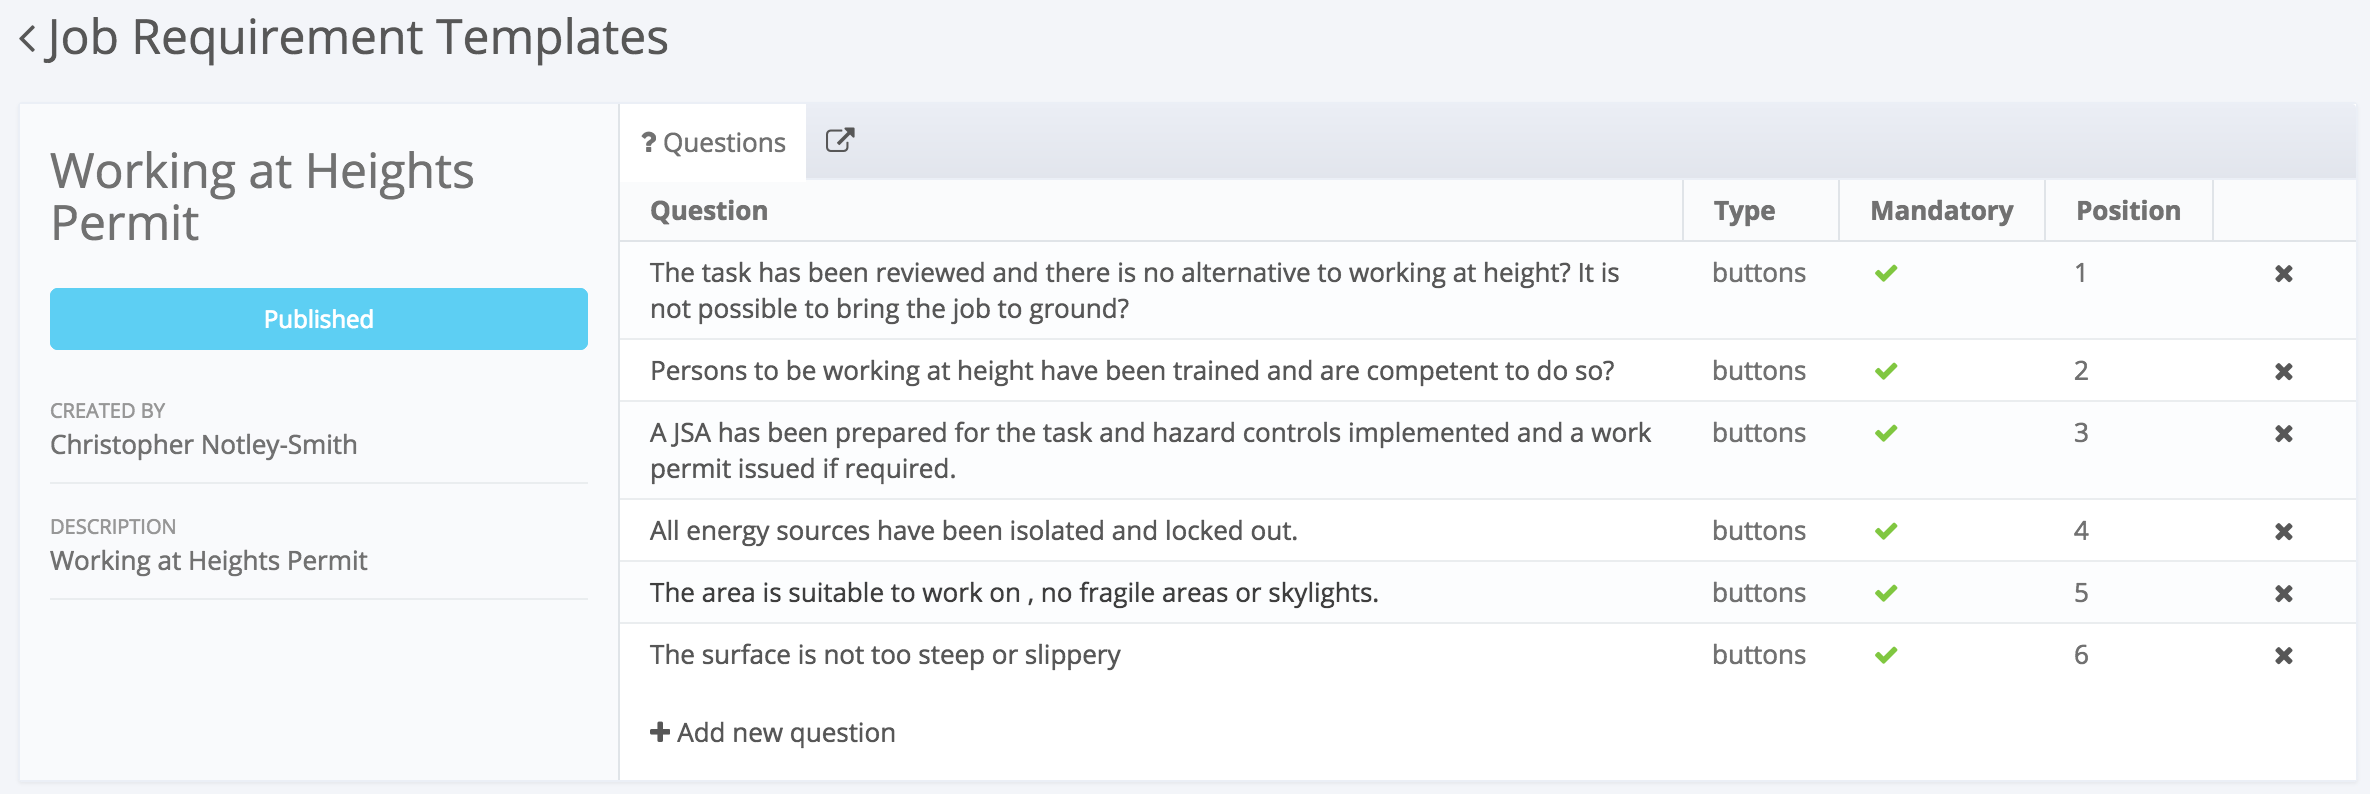
Once you’ve got the hang of that, you can go through and add as many questions as you’d like. When you’re finished, the last step is to switch this template from “Draft” to “Published” which can be done using the blue button on the left-hand side of the page. This will enable the template for selection within your Job Management record. This template can be used as many times as you need. Below you can see a sample of a finished template.

And that’s just about it! This is a new system, so if you notice any issues, please don’t hesitate to reach out to the team in-app by using the help icon down the bottom right-hand side of the screen. If you’d like to keep up with new development updates like this one, feel free to sign up for our newsletter for regular updates.
And of course, stay safe out there.
Share: